Shocking Truth about off page seo
“Shocking Truth” About Off-Page SEO! If So, Here Are Some Important Insights!

Backlinks Quality Matters More Than Quantity:
While having a good number of backlinks is beneficial, the quality of those links is crucial. High-quality, relevant backlinks from authoritative websites have a more significant impact on your SEO than a large number of low-quality links.

Natural Link Building vs. Manipulative Tactics:
Google’s algorithms are becoming increasingly sophisticated in detecting manipulative link-building tactics. Focus on natural link-building methods such as creating valuable content that others want to link to, rather than resorting to tactics that may lead to penalties.

Social Signals Are Not a Direct Ranking Factor:
While social media engagement can contribute to your online presence, the number of likes, shares, or retweets does not directly impact your search engine rankings. However, a strong social presence can indirectly benefit your SEO efforts by increasing brand visibility.

Diversify Anchor Texts:
Using diverse anchor texts in your backlinks is important. Avoid over-optimizing with exact-match keywords, as it can raise red flags for search engines. Natural and varied anchor texts provide a more organic and trustworthy link profile.

Local SEO is Critical for Many Businesses:
If your business has a physical location, optimizing for local search is essential. Ensure your business information is consistent across online directories, and encourage positive reviews, as they can significantly impact local search rankings.

Content Quality Matters Everywhere:
Off-page SEO is not just about links. The quality and relevance of your content on external platforms, such as guest posts or social media, play a crucial role. Valuable content attracts more attention and engagement.

Continuous Monitoring and Adaptation:
Off-page SEO is an ongoing process. Regularly monitor your backlink profile, adapt to changes in search engine algorithms, and stay updated on industry trends to maintain and improve your website’s ranking.

Guest Posting Backlinks in SEO:

Guest Posting Backlinks in SEO

Guest posting for backlinks in SEO offers valuable benefits by enhancing website authority and search engine rankings. By securing high-quality backlinks from reputable sites, a website gains authority in its niche, improving its trustworthiness for search engines. These backlinks act as endorsements, signaling to search algorithms that the content is credible and relevant. This results in higher search rankings, increased organic traffic, and improved visibility. Additionally, guest posting fosters networking, expanding the website’s reach and audience. Overall, it’s a strategic SEO approach to boost online presence and establish authority in the digital landscape.

Remember that SEO is a complex and dynamic field, and staying informed about the latest developments is key to implementing effective off-page strategies.

how to make listing inactive on amazon
How do I make my Amazon listing inactive? – ATES POST

Write for us Guest Post: Amazon listing inactive may vary slightly based on updates to the platform. However, here are general instructions based on the information available up to that point. Keep in mind that the steps may have changed, and it’s advisable to check the latest guidelines on the Amazon Seller Central website or contact Amazon Seller Support for the most accurate information. Keep in mind that Amazon may have made changes to the Seller Central interface or the process after my last update.

How To Make Amazon Listing Inactive?

Log in to your Seller Central account:

Go to Seller Central.
Navigate to your inventory:

In Seller Central, hover over the “Inventory” tab and click on “Manage Inventory.”
Find the product you want to make inactive:

Locate the specific product in your inventory.
Edit the product status:

Click on the product title to open the product details page.
Look for an option that allows you to edit the product details.
Update the product status to inactive:

Look for a field or option related to the product status or availability.
Change the status to “Inactive” or something similar.
Save changes:

After making the necessary updates, save the changes to update the product status.
Keep in mind that Amazon may have made changes to the Seller Central interface or the process after my last update. If you encounter any difficulties or if the steps above do not match the current interface, I recommend checking the latest Amazon Seller Central documentation or contacting Amazon Seller Support for assistance.

May you love to read that how to create amazon seller account

how to add google analytics to etsy
How To Add Google Analytics To Etsy in India?

Welcome to the world of Etsy, where creativity meets commerce! If you’re an Etsy seller in India, understanding and utilizing Google Analytics can significantly enhance your business insights. In this guide, we’ll walk you through the steps to seamlessly integrate Google Analytics with your Etsy store.

Understanding the Importance of Google Analytics:

Before diving into the technicalities, let’s explore why Google Analytics is a game-changer for Etsy sellers. It provides invaluable data about your shop’s performance, visitor behavior, and marketing efforts. By leveraging this tool, you can make informed decisions to boost your sales. How to add Google Analytics to Etsy in India

Setting Up a Google Analytics Account:

To begin, you need a Google Analytics account. If you don’t have one yet, visit the Google Analytics website and sign up. Once you’ve set up your account, you’ll receive a unique tracking code – a key element in connecting your Etsy shop to Google Analytics.

Creating a New Property for Your Etsy Shop:

Within your Google Analytics account, set up a new property specifically for your Etsy store. This ensures that you can track and analyze data specifically related to your Etsy business.

Generating and Installing the Tracking Code:

Copy the tracking code provided by Google Analytics and head over to your Etsy shop’s dashboard. Navigate to the settings section and find the “Web Analytics” or “Google Analytics” option. Paste the tracking code here. This step establishes the connection between your Etsy shop and Google Analytics.

Verifying the Setup:

After installing the tracking code, it’s crucial to verify that everything is working correctly. Google Analytics might take a few hours to start collecting data. Use the “Realtime” feature in Google Analytics to ensure that it’s tracking visitor activity on your Etsy shop in real-time.

Exploring Google Analytics Reports:

Now that your Etsy shop is linked to Google Analytics, it’s time to delve into the reports. Analyze data such as traffic sources, popular products, and user demographics. Understanding these insights can guide your marketing strategy and product offerings.

Utilizing E-commerce Tracking:

Enhance your analytics by enabling e-commerce tracking. This feature provides detailed information about your sales, revenue, and product performance directly within Google Analytics. It’s a powerful tool for evaluating the effectiveness of your marketing campaigns.

Congratulations! You’ve successfully integrated Google Analytics with your Etsy store, giving yourself a competitive edge in the dynamic world of online selling. By regularly analyzing the data provided, you can make informed decisions to optimize your Etsy business and maximize your sales in the Indian market.

Note: How to create Etsy seller account in India

ates post
How to Change Display Name on Amazon Seller Central in India?
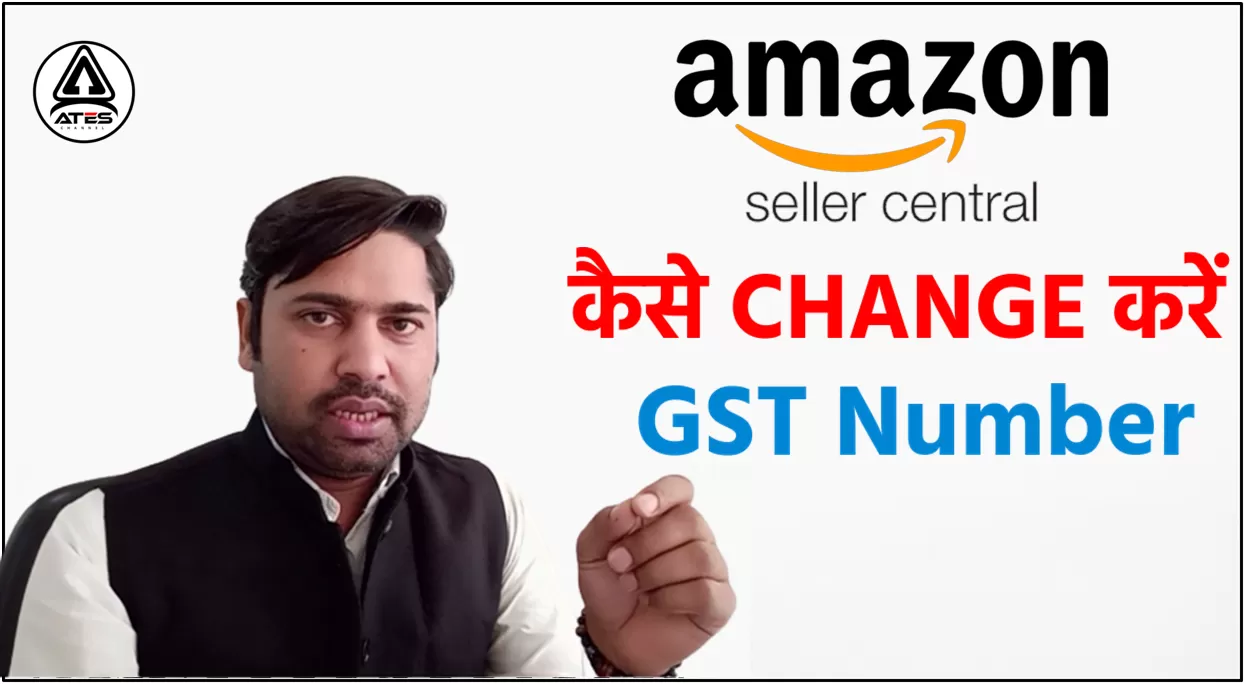
Write for us Guest Post: Welcome to our step-by-step guide on changing your display name on Amazon Seller Central in India. Your display name is a crucial aspect of your online presence, and keeping it updated can positively impact your brand image. In this blog post, we will walk you through the simple process of modifying your display name on Amazon Seller Central.

Understanding the Importance of Display Name:

Your display name is the first impression customers have of your brand on Amazon. It’s the name they associate with your products, and a well-chosen display name can enhance brand recognition and trust. Keeping it relevant and up-to-date is essential for building a strong online presence.

Steps to Change Display Name on Amazon Seller Central: Changing your display name on Amazon Seller Central is a straightforward process. Follow these steps to update your display name effortlessly:

  1. Log in to Your Seller Central Account: Start by logging in to your Amazon Seller Central account using your credentials.
  2. Navigate to Account Settings: Once logged in, go to the ‘Settings’ or ‘Account Info’ section to find the option for changing your display name.
  3. Locate ‘Business Information’: Within the account settings, find and click on ‘Business Information’ or a similar tab where you can modify your business details.
  4. Edit Display Name: Look for the field where your display name is listed. Click on the edit or modify option to make changes to your display name.
  5. Enter New Display Name: Input your new display name, ensuring it aligns with your branding strategy and complies with Amazon’s guidelines.
  6. Save Changes: After entering the new display name, save the changes to update your information on Amazon Seller Central.

Tips for Choosing an Effective Display Name: Selecting the right display name is crucial for making a lasting impression on potential customers. Consider the following tips when choosing or updating your display name:

  • Keep it concise and memorable.
  • Include relevant keywords related to your products.
  • Ensure it reflects your brand identity.
  • Avoid special characters or symbols.

Common Challenges and Solutions: While changing your display name is usually a smooth process, you may encounter some challenges. Here are a few common issues and their solutions:

  1. Name Already in Use: If your desired display name is already in use, consider adding a unique identifier or slight variation to make it distinctive.
  2. Character Limitations: Amazon may have character limitations for display names. Ensure your chosen name fits within the specified constraints.
  3. Policy Compliance: Make sure your display name adheres to Amazon’s policies and guidelines to avoid any issues.

Conclusion: In conclusion, updating your display name on Amazon Seller Central is a simple yet impactful task that can contribute to the overall success of your online business. By following the steps outlined in this guide and keeping our tips in mind, you can ensure your brand is accurately represented on the platform. Take control of your online presence and make the most out of your Amazon Seller Central account in India.

For Other Topic – How to change GST number in amazon seller central?