Create a action figure images:
ChatGPT Action Figure Image Prompt:
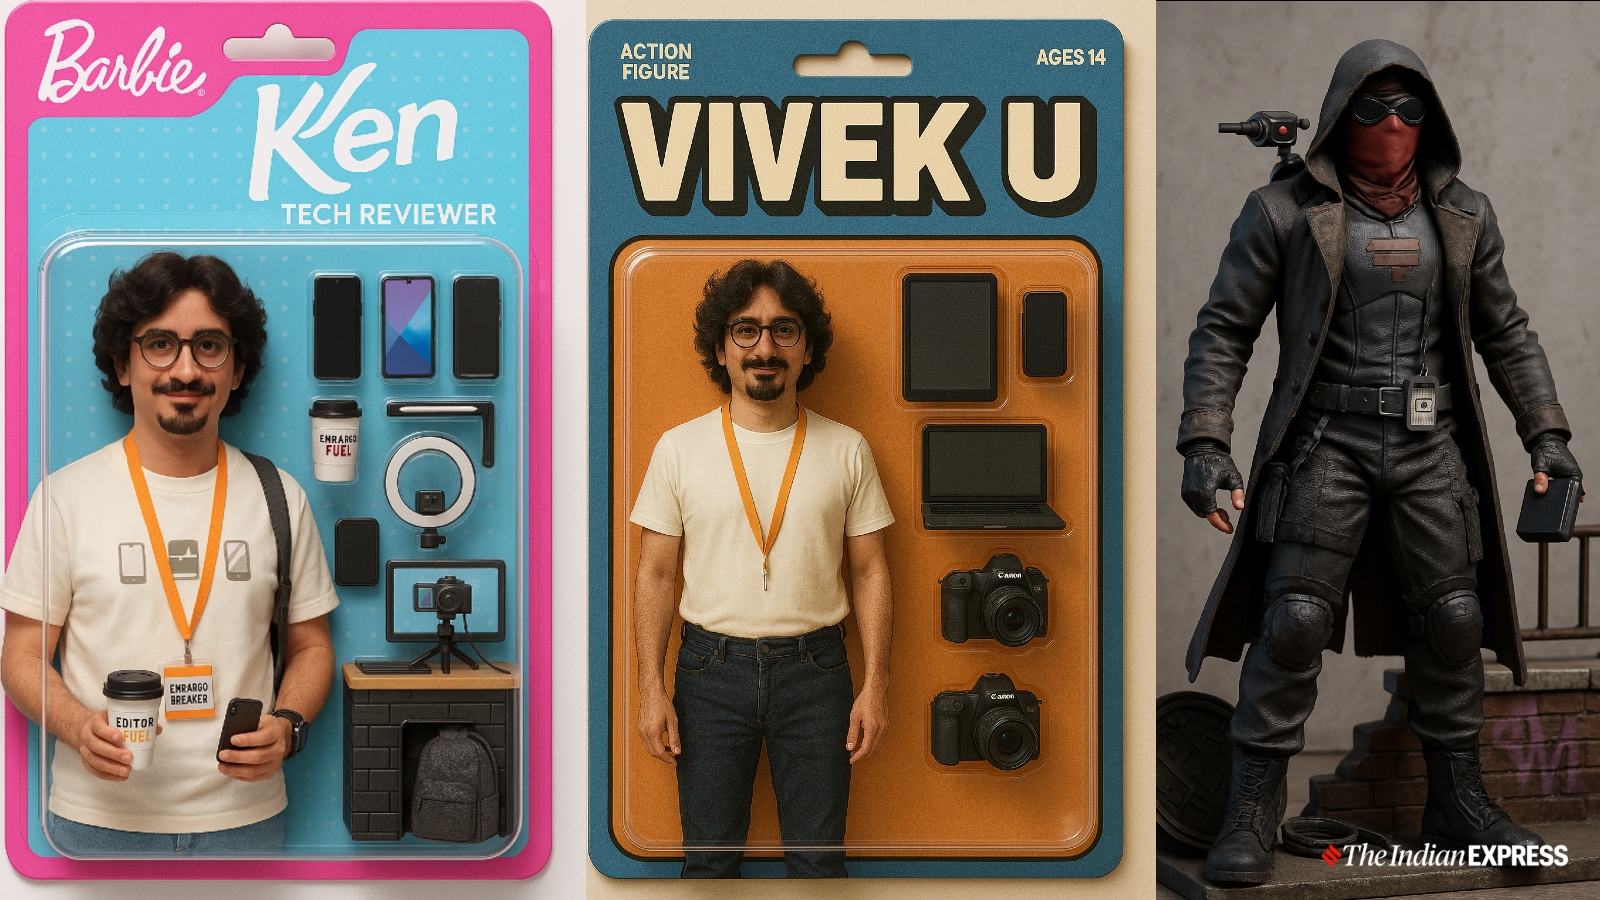
👉 Create an image. Create a toy of the person in the photo. Let it be an action figure. Next to the figure, there should be the toy’s equipment, each in its individual blister. 1) A Book. 2) A coffee mug with the words ‘ATES Channel’ written on the side. 3) A pack of Post-it notes. 4) A data dashboard with ‘Vision’ written on it. Don’t repeat the equipment under any circumstances. The card holding the blister should be light blue. Also, on top of the box, write ‘ATES Channel’ and ‘Do Subscribe My Channel’ underneath it. The figure and equipment must all be inside blisters. Realistically visualize this.
Pixverse AI Optimized Prompt:
👉 Person exits a box with realistic motion, maintains eye contact with the camera while walking forward. Camera slowly moves backward to match the movement. Background and lighting remain stable for immersive scene continuity.
Pika Labs Optimized Prompt:
👉 A person naturally steps out of a box while looking directly into the camera. Smooth camera pull-back motion synced with the person’s forward steps. Maintain a stable background and realistic body movements.
RunwayML Optimized Prompt:
👉 Realistic animation of a person stepping out of a box, smile on face, eyes blink, making direct eye contact with the camera. As the person walks forward with natural body motion, the camera gently tracks backward. Keep all background and other elements stable for a cinematic effect.
Action Figure Toy Video Kaise Banaye: Watch full video
Creating action figure images can be a fun and creative process! Here’s a step-by-step guide to help you make high-quality action figure images:
Step 1: Plan Your Concept
- Decide on the theme (e.g., superhero battle, sci-fi, military).
- Choose your characters and think about the scene/story you want to tell.
- Sketch a rough layout (optional but helpful).
Step 2: Gather Materials
- Action figures you want to use.
- Props and accessories (mini weapons, scenery, furniture, etc.).
- Background (printed backdrops, dioramas, or green screens).
- Camera or smartphone.
- Lighting (desk lamps, LED lights, or natural light).
Step 3: Set Up the Scene
- Pose your action figures dynamically (use stands or sticky tack if needed).
- Arrange props and background for realism.
- Make sure the scene matches your concept.
Step 4: Set Up Lighting
- Use multiple light sources to eliminate harsh shadows.
- Use diffused light (with tissue paper or softboxes) for a cinematic effect.
- Experiment with colored lights if the mood calls for it (e.g., red for danger).
Step 5: Take the Photos
- Use a tripod or stable surface for sharp shots.
- Adjust camera settings (focus, exposure, white balance).
- Shoot from different angles and distances (eye-level shots often work best).
- Take multiple shots for safety.
Step 6: Edit the Photos
- Use editing software like Photoshop, Lightroom, or free tools like Snapseed or Pixlr.
- Adjust brightness, contrast, saturation, and sharpness.
- Add special effects (e.g., explosions, smoke, laser beams).
- If using green screen, replace the background.
Step 7: Save and Share
- Save in high resolution (JPEG or PNG).
- Share on social media, collector forums, or print for display.